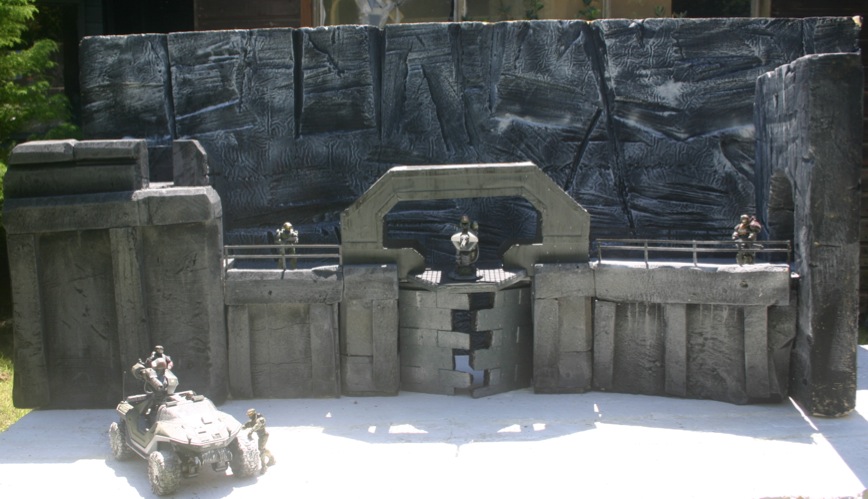
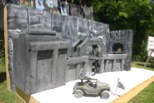
Halo diorama
Inspired by the Halo 3 multiplayer map ‘Highground’

Materials and tools
Loft/roof insulation, Sheet foam board and Tools
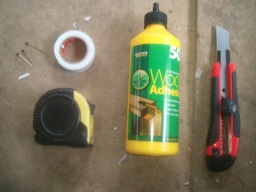
The materials I used for this project you can purchase from either art shops or builders merchants!
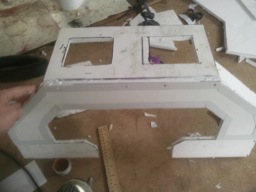
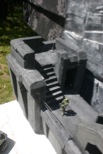
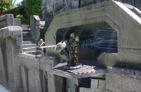
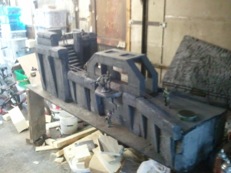
For the ‘Bunker’ I used sheet foam board which is widely available in many art shops, I measured out the dimensions then carefully cut the shapes out. PVA wood glue and small pins were used to stick each side together. It takes roughly about an hour or so to dry and when it has dried simply pull the pins out or you could leave them in for extra strength, just make sure you cut off the ends!
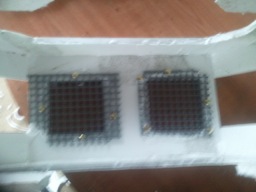
For the grating on the top of the bunker I cut up an old plastic tennis racket and stuck it to the underside of the model using drawing pins and wood glue!
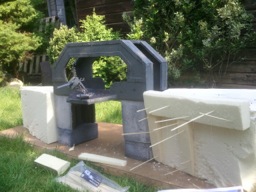
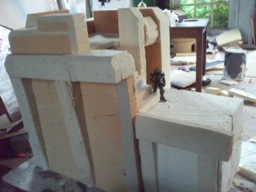
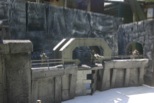
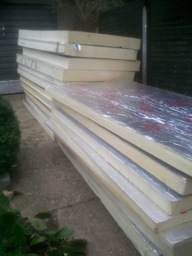
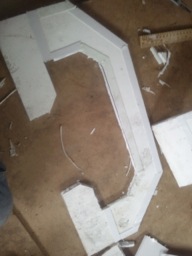
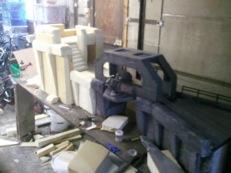
The main buildings were all made using a loft insulation material which usually comes in very large sheets (8’ x4’ ft) and in various depths. I used 100mm and 150mm so it was quite thick suff, but very light and easy to cut using a normal wood saw. I used the larger 150mm for the main bulk of the building and cut up the various shapes using the 100mm to add the extra bulkheads and barricades to give the model that more authentic look! To attach each detail I used glue and kebab sticks, the sticks give each attachment extra strength just remember when the glue has dried to cut off the ends again!
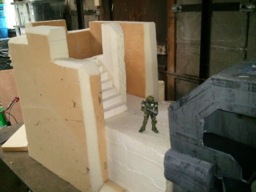
The back drop in the main photo at the top of the page was very easy to make, it is just one whole sheet of insulation with marks cut into it to give a mountainous effect, the painted. For all the painting that has been done on each segment I made sure I started off with a base coat of black emulsion, then a dark grey coat and then just dry brushed the rest with light grey and white.
I hope I have made some sense in explaining how I made this it is reasonably easy to do and so long as you have a bit of time, patience and of course ’space’ then pretty much anyone can do it!